Could this be a productive week? I believe so. I started the week by working on more pages for the manual. I began by creating a manual page detailing how to create a Story, what all the settings attributed to the Story page were and how to set them. I’m feeling good about this manual. I think it’s a really great idea not just for the users of the site, but also for me in keeping track of how to do all these steps. Once you start fighting with something, it’s easy to forget what all the steps are in adding content to it. Setting up a Story is fairly simple once you get the hang of it. It involves creating a title, then setting the “Menu settings” which would entail coming up with a Menu title (this would appear in the parent menu of your choice) and selecting the Parent Menu. This is something that isn’t required, but it can provide easy access to the Story. In the manual, I suggested putting these in the Secondary Menu which appears in the left sidebar. I originally put it in the Primary Links menu, but this not only stuck it in the sidebar (which was fine) but it also created another link up at the top, below the logo and above the main part of the page which forced everything down. I had trouble finding where I could correct this problem by dismantling the second link at the top, so I put the items in the Secondary Links menu. Problem solved. If a link is added to the sidebar, you can choose the weight of the link, meaning the lighter (1 is considered light, but you can go negative to make it even lighter) the weight, the higher in the list the link will appear. You can set it to be heavy, making it appear lower in the list. A Body field is next. Obviously this is where all the content goes. The rest is just set up. You can add images one of two ways (I’ll explain later), set it to receive comments or not, have it published to the front page or not, attach files, lots of stuff. I feel better about this a little.
Next I did a manual page for uploading images to articles. This is a little tricky. One can upload an image just using the “Attach image”, which allows you to select an existing image (I found out that you can select them from the list, but not hit the attach button yet. You have to wait until you Preview and Save. If not, you’ll get an error.) and upload it, but it sets it by default in the top-right position of the article. You can’t change this really. The work around was downloading an Image Assist module that lets you set the image practically where ever in the article. There’s a little camera icon below the body field that you click. This brings up a pop-up window that has a dropdown menu to where, if you have galleries, lets the user select All Images, galleries, or My Images. It also has an Upload field, so you can upload your images through there. When you’ve selected your image, a second pop-up window will appear which lets you give another title to the image or get rid of the title altogether, add an optional description, insert a link, choose whether the image should be placed left, right, center or none, and you can select whether it will automatically be placed using regular Filter insertion or with HTML tags. The thing to remember is before you hit the insert button, go back to the page your working on and click within the article where you want the image to appear. Then go back to the pop-up window and hit Insert. This will place the code within the article, letting you Preview the article first before saving. Selecting None lets you place the image completely inline.
I ended up adding a manual page for creating a Page. A Page is great for static items like an About Us page. Basically, things that won’t be changing very much. It’s basically the same steps as creating a Story. That’s one of the nice things about Drupal. When you’ve worked enough on the framework, you start seeing patterns in how you create information.
Speaking of About Us, that was how I spent the rest of my day. I really wanted to start adding content that actually pertained to the site, instead of just creating test crap. So I went to their About Us and Member Benefits pages on the WARealtor site and started grabbing images and copying text one section at a time. This really allowed me to get to know how to upload images since I had to do it something like ten times.
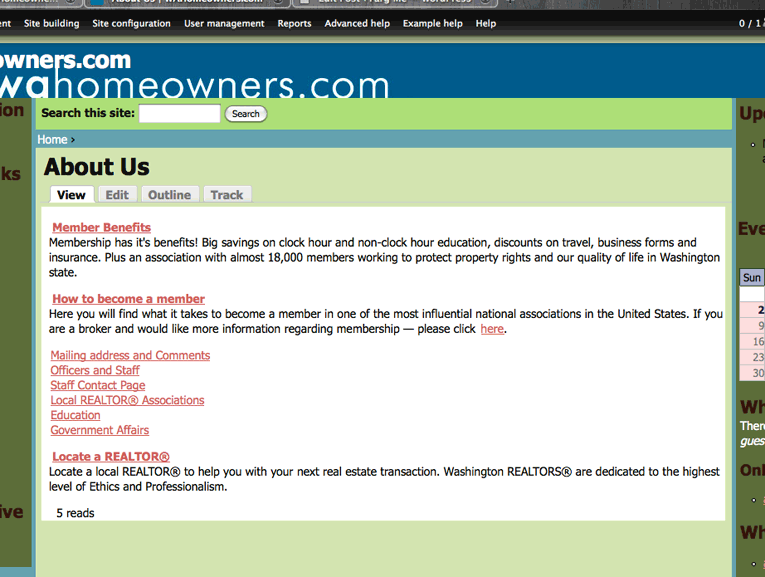
Here is the original About Us page:

Here’s what the Drupal version of the About Us looks like:
Here’s what the original Member Benefits page looks like:
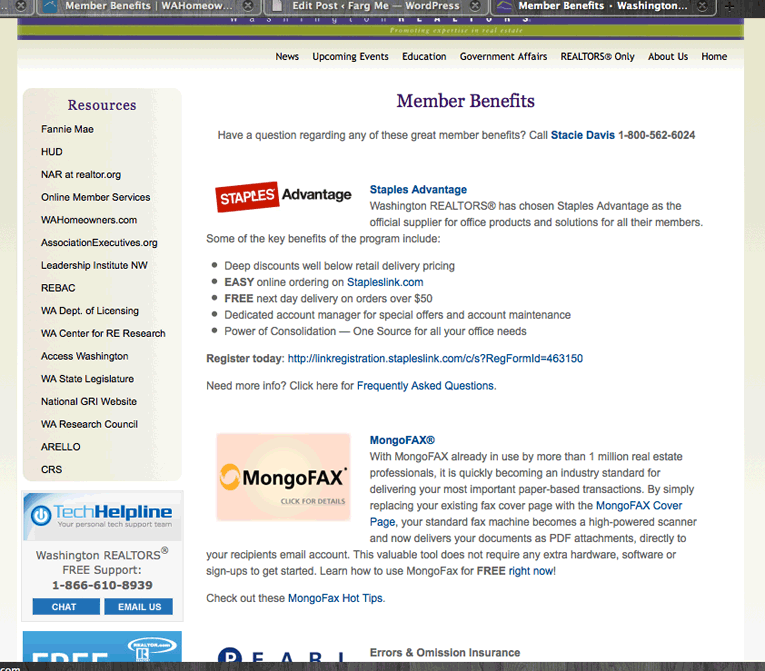
And here’s what the new Drupal version of the Member Benefits looks like:

The pages don’t look to bad. I added the link in the Secondary Links menu in the left sidebar for immediate access by all users. Not bad for a couple of days work. The rest of the week will basically be the same as the last two days. Learning how to do tasks and writing manual pages about it. Exciting.
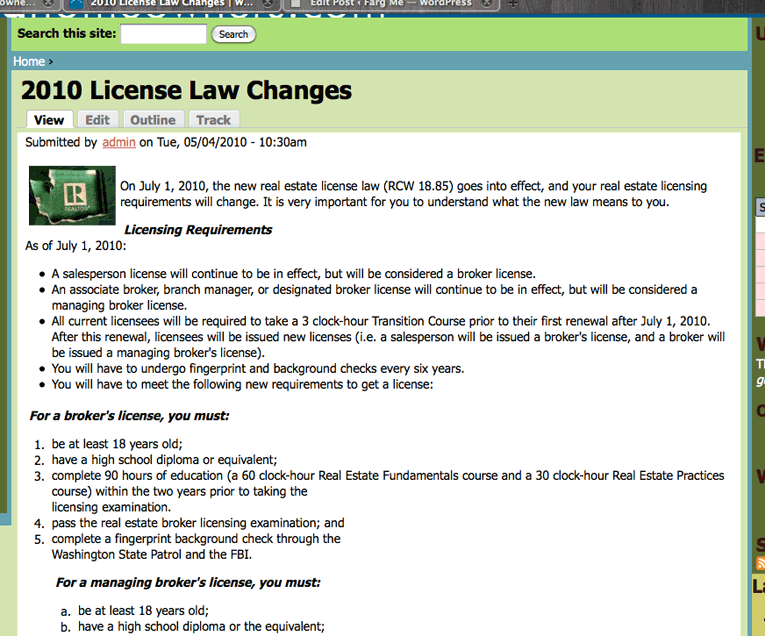
Oh, I almost forgot that I also made a “2010 License Law Changes” page. I used the Page format on this one too. It was actually the first Page I worked with.
Here’s what it looks like:
I based it around the page on the WARealtor site. That page looks a lot like the above examples. Hence why I decided not to upload a photo of it. Really friggin’ busy today. It feels good to accomplish something and be really productive. You can’t see it, but I just wiped sweat off my brow. Now, I’m creating at least six more words so I can get over one-thousand words on this post. Boss!


Comment Crap